[Part 2] Installing QueryPie ACP Community Edition — A First Lab Environment for Evaluating Adoption
November 7, 2026
The previous article asked how far an attacker could move once inside. Answering that takes more than reading a feature list: we need to deploy the product, configure accounts and privileges, and inspect records of permitted and blocked operations.
As a starting point, I built a QueryPie ACP Community Edition lab environment on my Mac. To make this reproducible for those evaluating adoption, I have recorded the environment, installation sequence, issues encountered, and scope verified. The work was performed on November 7, 2026, using ACP 11.6.7.
How to follow this article: Each step names the reference manual and its relevant section. Check the official procedure, then compare it with the lab screenshots. Project separation, external port 16444, resource usage, and elapsed times are specific configurations and observations from this Mac. Documentation may change; consult the latest guidance when installing another version.
Scope verified here: I completed image downloads, database initialization, server readiness checks, Community license registration, the default administrator password change, and login to the dashboard with the new password. I also saved and rechecked the Web Base URL. Actual database, server, and Kubernetes access controls will be tested in later exercises.
1. Defining the Goal of the Evaluation Lab
The goal is to build a small lab for the feature tests to follow. With one database and test accounts, I want to check who can connect, what they can do, and what gets recorded, in that order.
The official Community guidance classifies ARM64/macOS with Docker as an evaluation setup. Recommended evaluation resources are 4 vCPUs, 16 GiB of memory, and at least 30 GiB of disk. For multi-user production, it recommends AMD64, 8 vCPUs, 32 GiB of memory, at least 100 GiB of disk, and Linux. I used Apple Silicon and Docker Desktop. High availability, backup and recovery, authentication integration, and log retention require separate planning.
2. Laptop Specifications Differ from Docker’s Allocated Resources
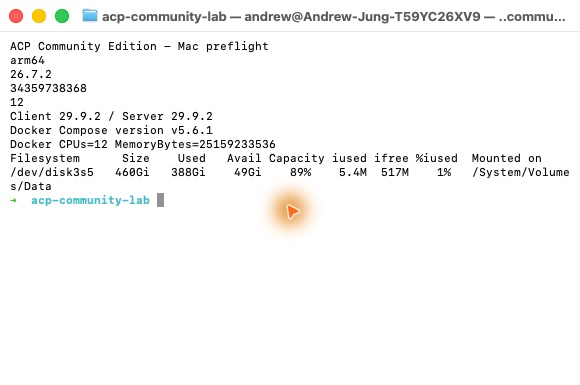
Reference manual: QueryPie ACP Community Edition— ‘Recommended server specifications’. I used this to distinguish evaluation from production recommendations. When selecting the production OS, also consult Linux distributions and Docker/Podman support. The table below contains my Mac’s measured values, not the manual’s recommendations.
Item | Lab environment used |
Host | macOS 26.7.2 / arm64 / 12 logical CPUs / 32 GiB RAM |
Docker | Docker Desktop 4.98.0 / Engine 29.9.2 |
Compose | v5.6.1 |
Docker VM resources | 12 CPUs / approximately 23.43 GiB memory |
Free disk space before installation | Approximately 49 GiB |
ACP | 11.6.7 — recommended by the official installer at the time |
When evaluating adoption, do not stop at ‘I have a laptop with 32 GB RAM.’ Check how much memory Docker can actually use. You also need disk space for images, databases, and logs. These figures describe this lab, not the product’s minimum requirements.
3. Preserving the Existing QueryPie Environment and Creating a Separate Lab
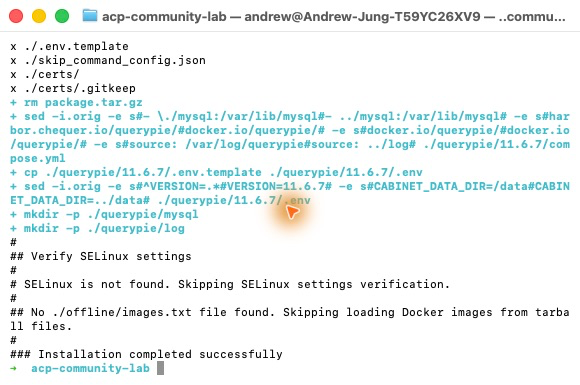
Reference manual: Installation guide — setup.v2.sh and querypie/11.6.7/README.ko.md in the downloaded package: ‘Automatically installing and running QueryPie ACP’, ‘Manually running QueryPie ACP with Docker’. I checked the package-only preparation option in the downloaded setup.v2.sh. Separating the project, network, and data paths was an additional measure to preserve the existing environment.
Another QueryPie environment already existed on my Mac. After stopping its containers, I named the new Compose project acp-ce-lab and separated its network and data paths. I did not reuse existing data in the new lab.
The official installer also supports automatic installation. To preserve the existing environment and logs, I first downloaded the official Compose package and followed the manual execution instructions in its README. The steps below reflect the route I actually chose.
curl -fsSL https://dl.querypie.com/setup.v2.sh -o setup.v2.shbash setup.v2.sh --install-compose-package 11.6.7bash setup.v2.sh --populate-env querypie/11.6.7/.envchmod 600 querypie/11.6.7/.env
I inspected the script before running it; its version was 26.10.1. Subsequent commands ran from the generated querypie/11.6.7 directory. Environment files can contain credentials, so do not publish their contents in a blog or repository.
4. Downloading Images and Initializing the Database
Reference manual: Package README.ko.md → Manually running QueryPie ACP with Docker → Running MySQL and Redis / Running QueryPie ACP Tools. These sections establish the database startup and migration sequence below. Download progress, health responses, and elapsed times were recorded during execution. The README is available in the installation directory after downloading the Compose package.
This setup consists of the ACP application, MySQL, Redis, and a Tools image for initialization. MySQL stores product configuration and history; it is distinct from the business database to be connected later. Knowing where data persists is as important as starting the containers.
docker compose --profile database --profile app --profile tools pulldocker compose --profile database up -ddocker compose --profile tools up -dcurl http://localhost:8050/healthdocker compose --profile tools exec -T tools /app/script/migrate.sh runalldocker compose stop tools
After confirming an HTTP 200 response from Tools’ health endpoint, I ran the migration. All four downloaded images were arm64. Their image metadata sizes totaled about 5.33 GB; this was not a measurement of download traffic or actual additional disk usage.
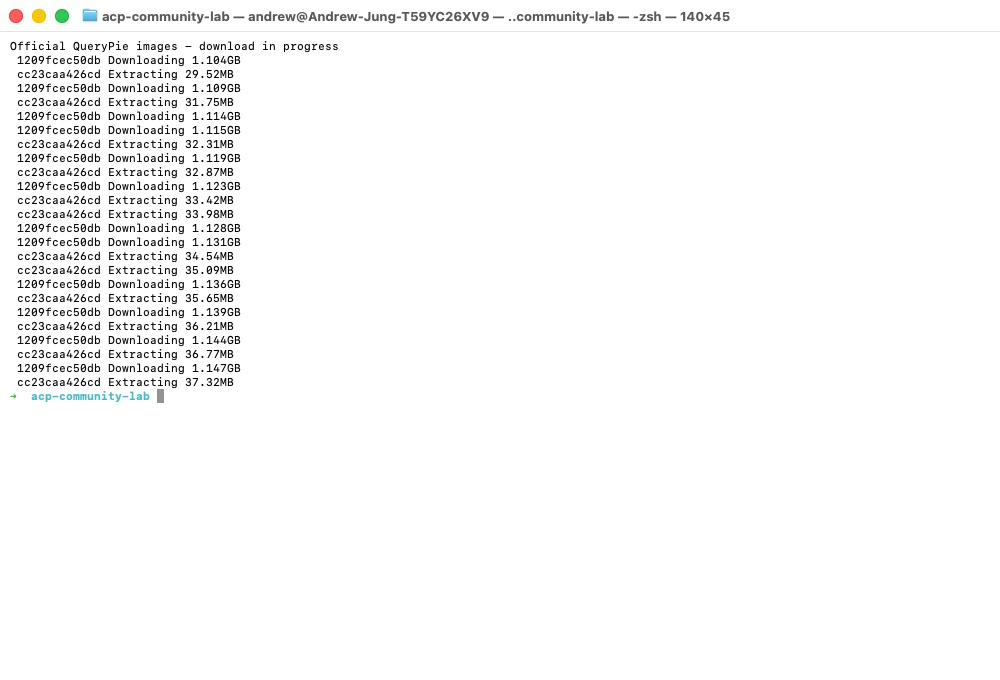
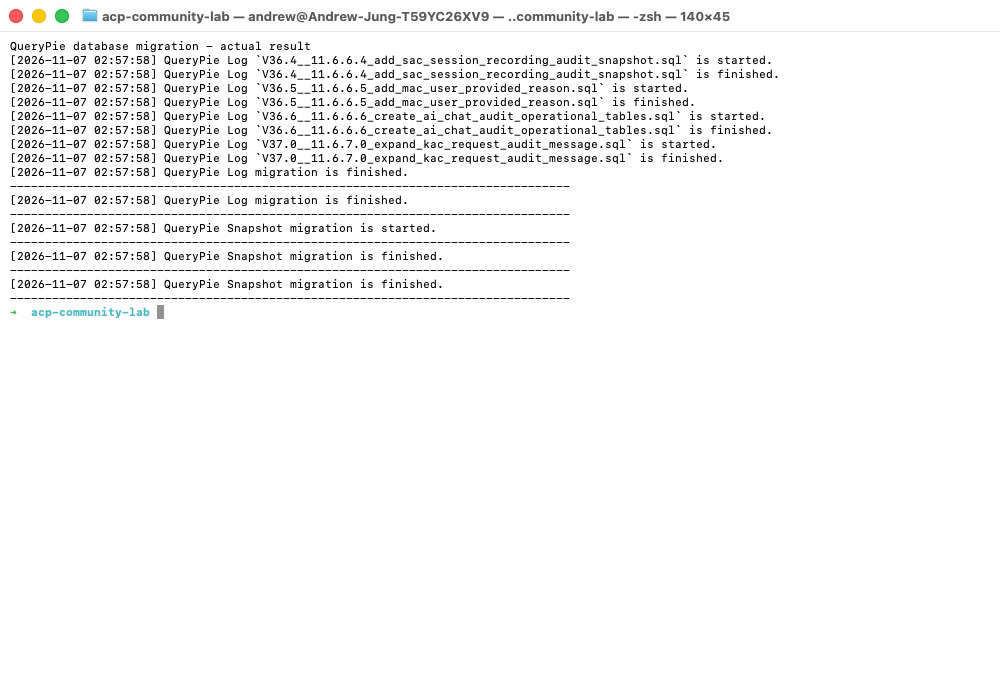
The logs show image downloads starting at 11:53:40 and finishing before 11:56:15. The first migration ran from 11:57:52 to 11:57:58. These are one-off measurements affected by the network, hardware, and image cache. I would not combine research and screenshot time and call it the product’s installation time.
5. A Real Issue: A Conflict on Port 6443
Additional measure for this environment: Changing the external port to 16444 resolves a conflict on my Mac; it is not a default official step required for every installation. For subsequent proxy settings, consult Initial configuration after installation— ‘KAC: Proxy connection address settings’. Check both Docker’s port mapping and the proxy address configured inside the product.
The first application startup failed because port 6443 was already in use. Docker Desktop was using 127.0.0.1:6443 on the host.
A retry started successfully, but I changed the lab’s external KAC port to 16444 to clearly separate it from existing services. The container’s internal port remained 6443; only the host port changed. The final Compose port list contains 16444:6443.
lsof -nP -iTCP:6443 -sTCP:LISTENdocker compose port app 6443# 이번 환경의 결과: 0.0.0.0:16444
When overriding a Compose port list, inspect the final configuration to avoid unintentionally appending to the original list. With Compose v5.6.1, I used ports: !override to specify the complete list. The capture below shows the occupied port and updated mapping, not the initial error.
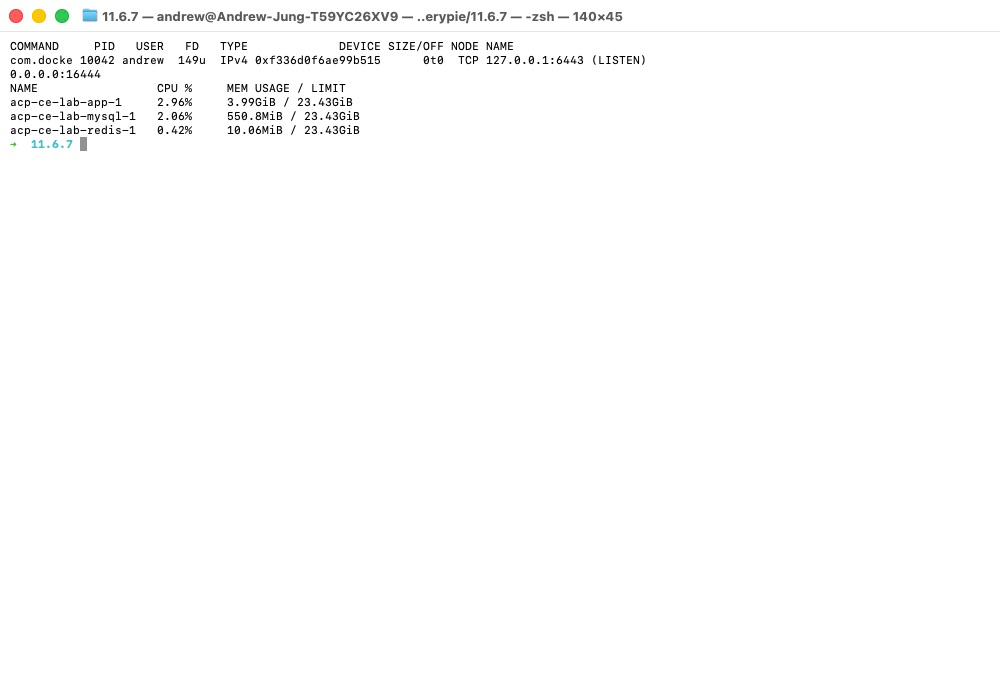
This change does not verify Kubernetes access control. Later KAC exercises must reflect this value in the user-facing proxy address and port. For evaluators, the key is that checking the web administration port alone is insufficient: resource access paths and firewall rules must also be planned.
6. Distinguishing Running Containers from a Ready Service
Reference manual: Package README.ko.md: ‘Running QueryPie ACP Application’ and Community Edition guide— ‘Starting QueryPie ACP Community Edition manually’, ‘Installation → 3. Connecting after installation’. These explain the readyz check and web connection port.
docker compose --profile app up -ddocker compose exec -T app readyzdocker compose ps
Rather than relying on the container’s running state, I verified readiness with ACP’s readyz command. After the port change, the first success was recorded at 12:02:11, and the check succeeded again while capturing screenshots.
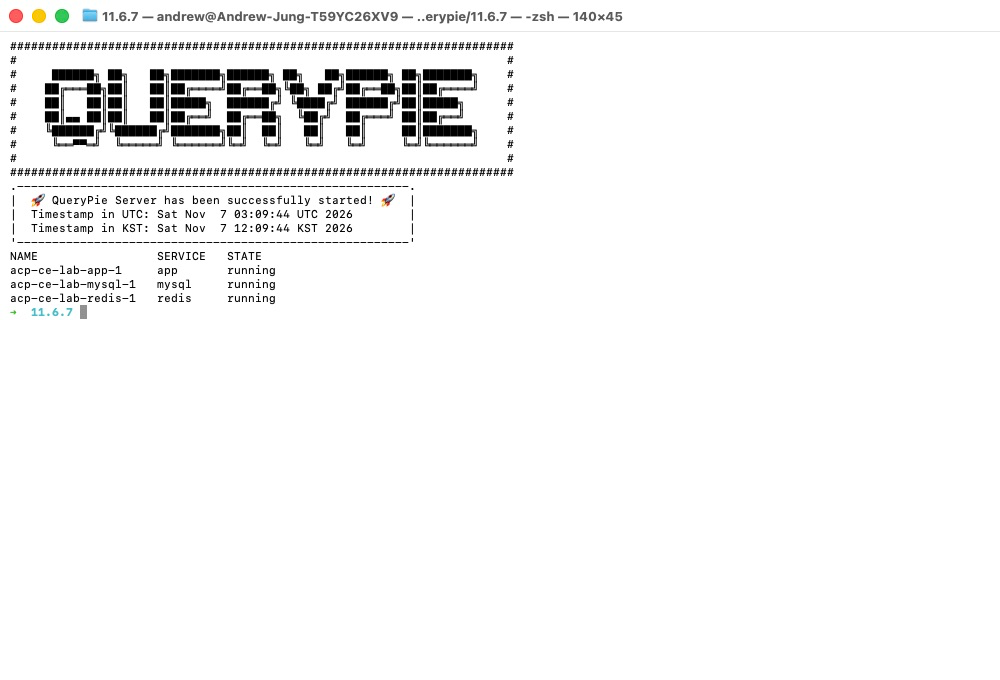
Opening http://localhost:8000/ displayed license registration. A single memory snapshot just after startup showed about 3.99 GiB for app, 550.8 MiB for MySQL, and 10.06 MiB for Redis. With no user activity yet, this instantaneous reading is insufficient for production capacity planning.
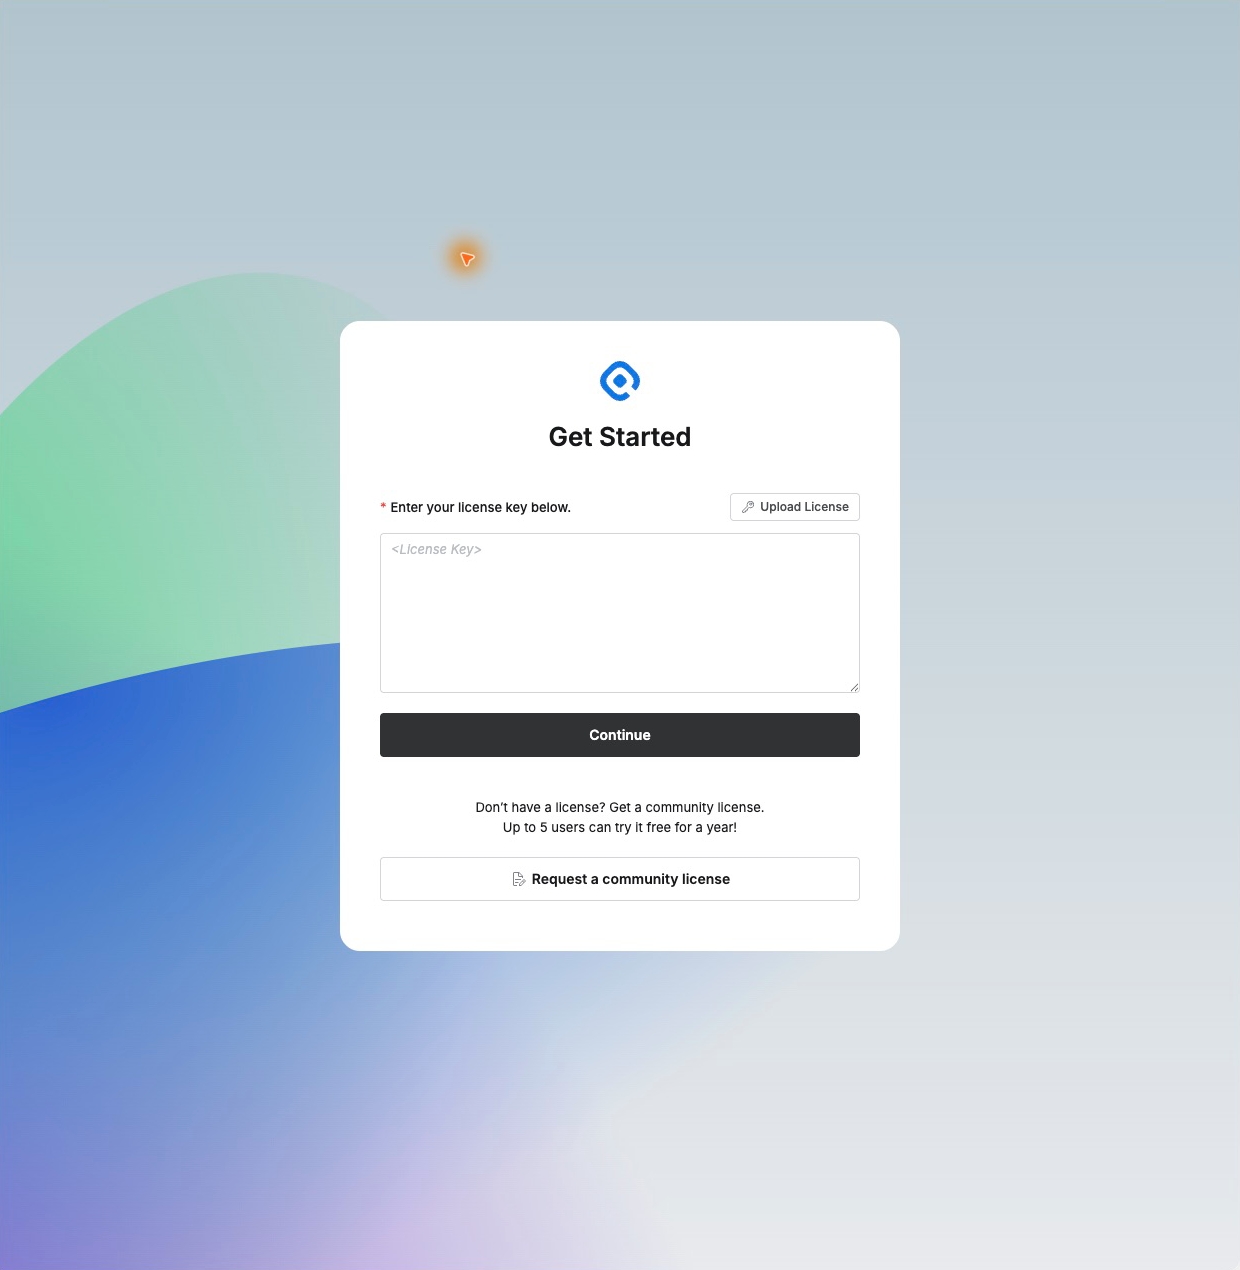
7. Applying for a Community License Was a Separate Step
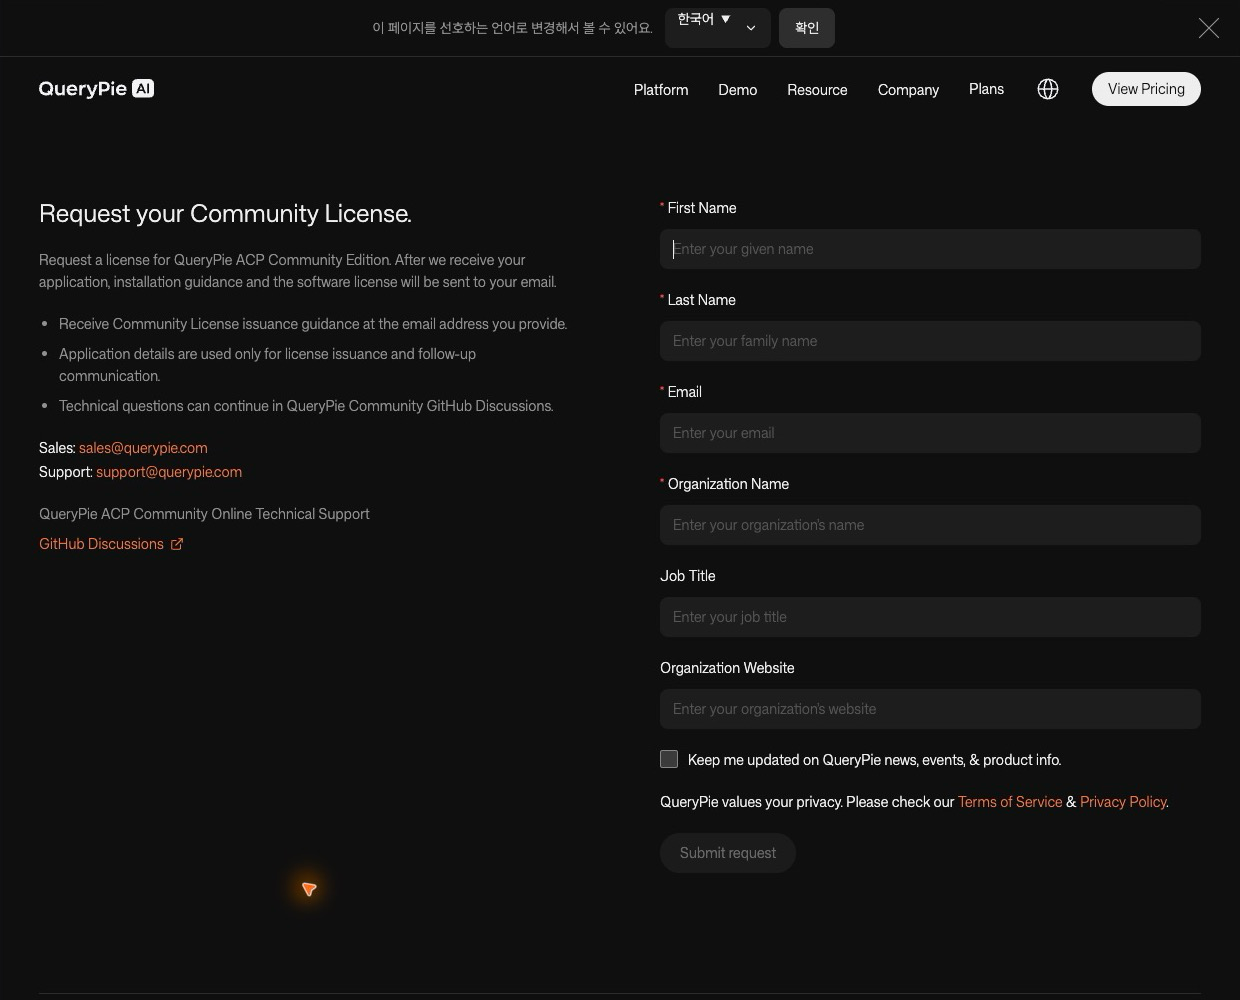
Reference manual: Community Edition guide— ‘Installation → 2. Obtaining a license during installation / 4. Registering a license’. I applied through the official Community license application page. Differences between the documented file extension and the file actually received are recorded below.
The page stated that up to five users could try it free for one year. I entered a reachable work email and test organization details on the official Community application page. After the success message, I also received the license email with an attached certificate.
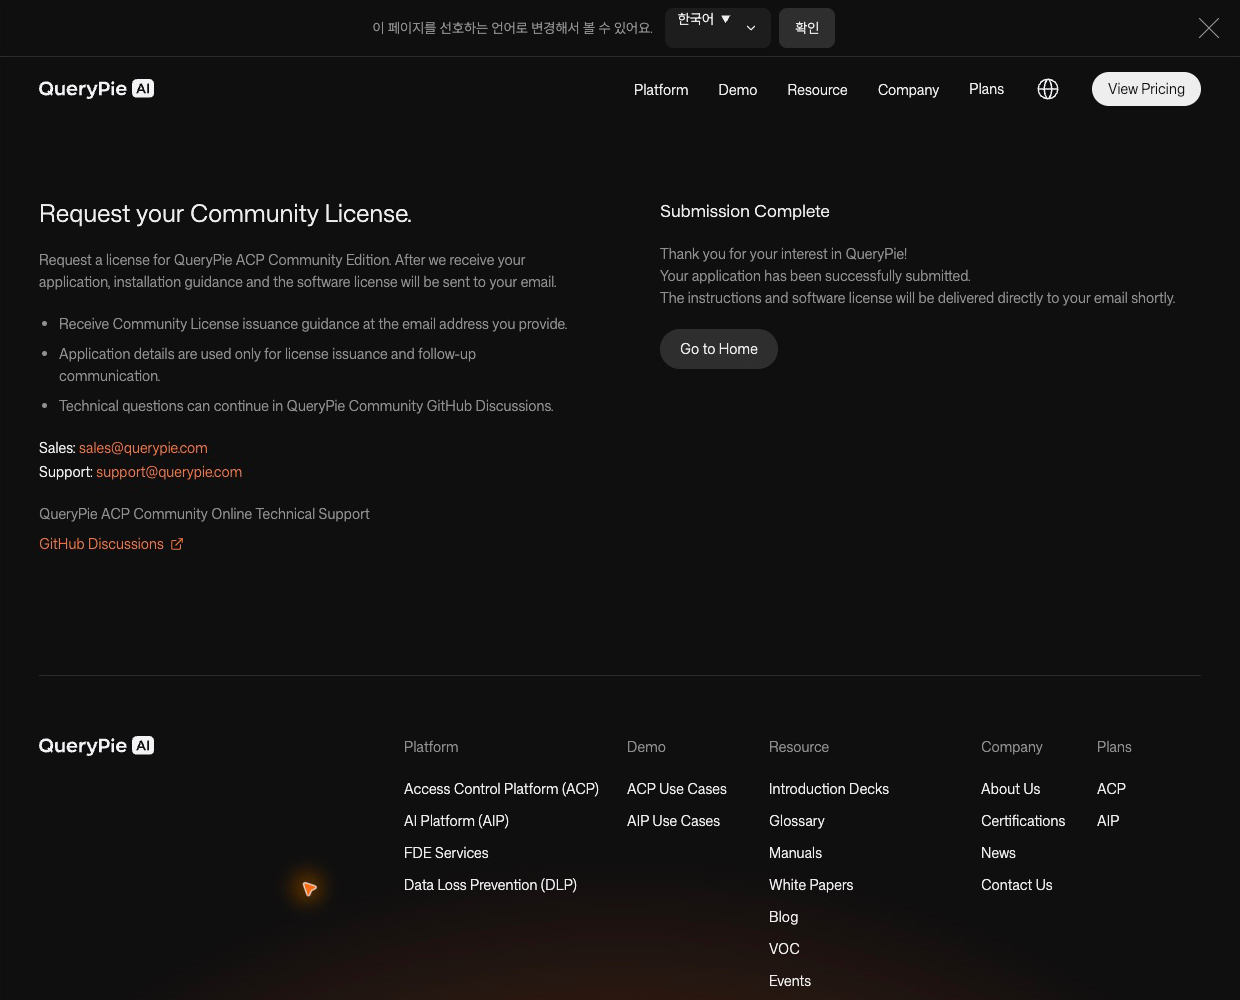
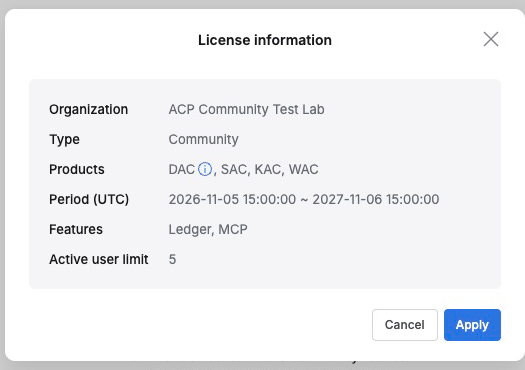
The issuance notice listed COMMUNITY, five active users, and DAC, KAC, SAC, and WAC. Future applicants should recheck the current terms and their issued license. A feature appearing in a license does not verify its usability or compatibility with a particular environment.
The delivered file was a .pem certificate inside a ZIP. Parts of the official guidance describe .crt, but I extracted the ZIP and loaded the PEM using Upload License → Continue. After checking the organization, Community type, product coverage, and user limit, I clicked Apply and reached the login screen.
8. Changing the Password at First Login and Opening the Dashboard
Reference manual: Community Edition guide— ‘Installation → 5. Login / 6. Installation complete’. I checked the default account and password-change procedure. For enforced changes and account-management conditions, I consulted Enforced password changes and account deletion for the default qp-admin account— ‘Conditions for enforcing qp-admin password changes / How to change the password’. I did not delete the account in this exercise.
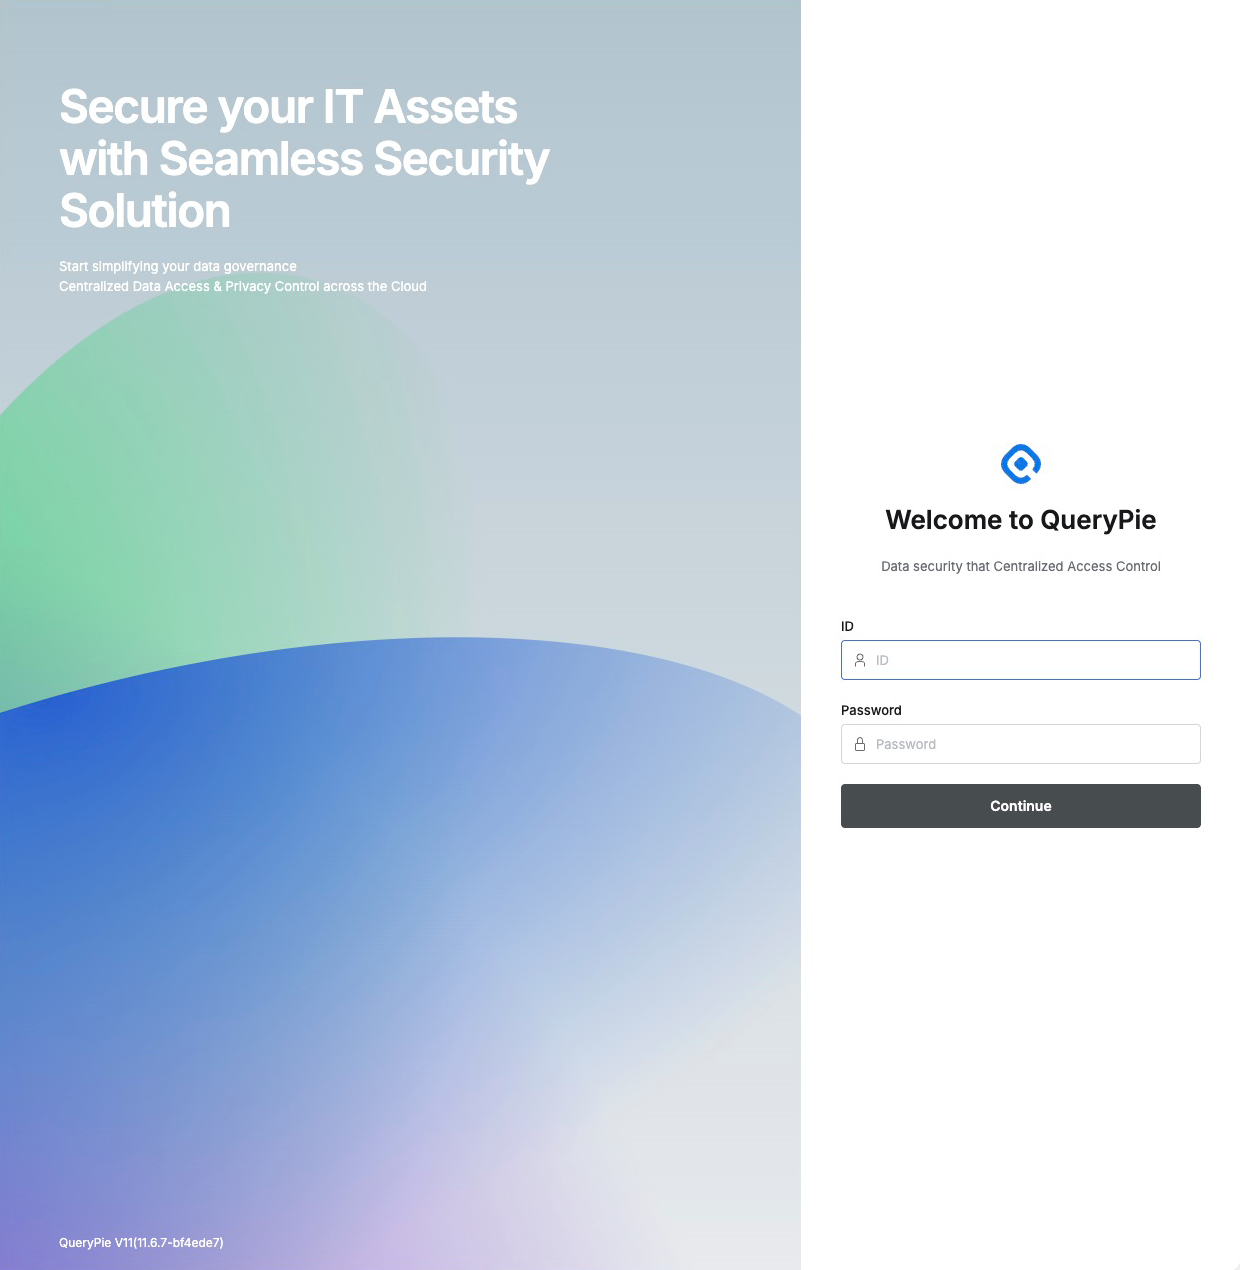
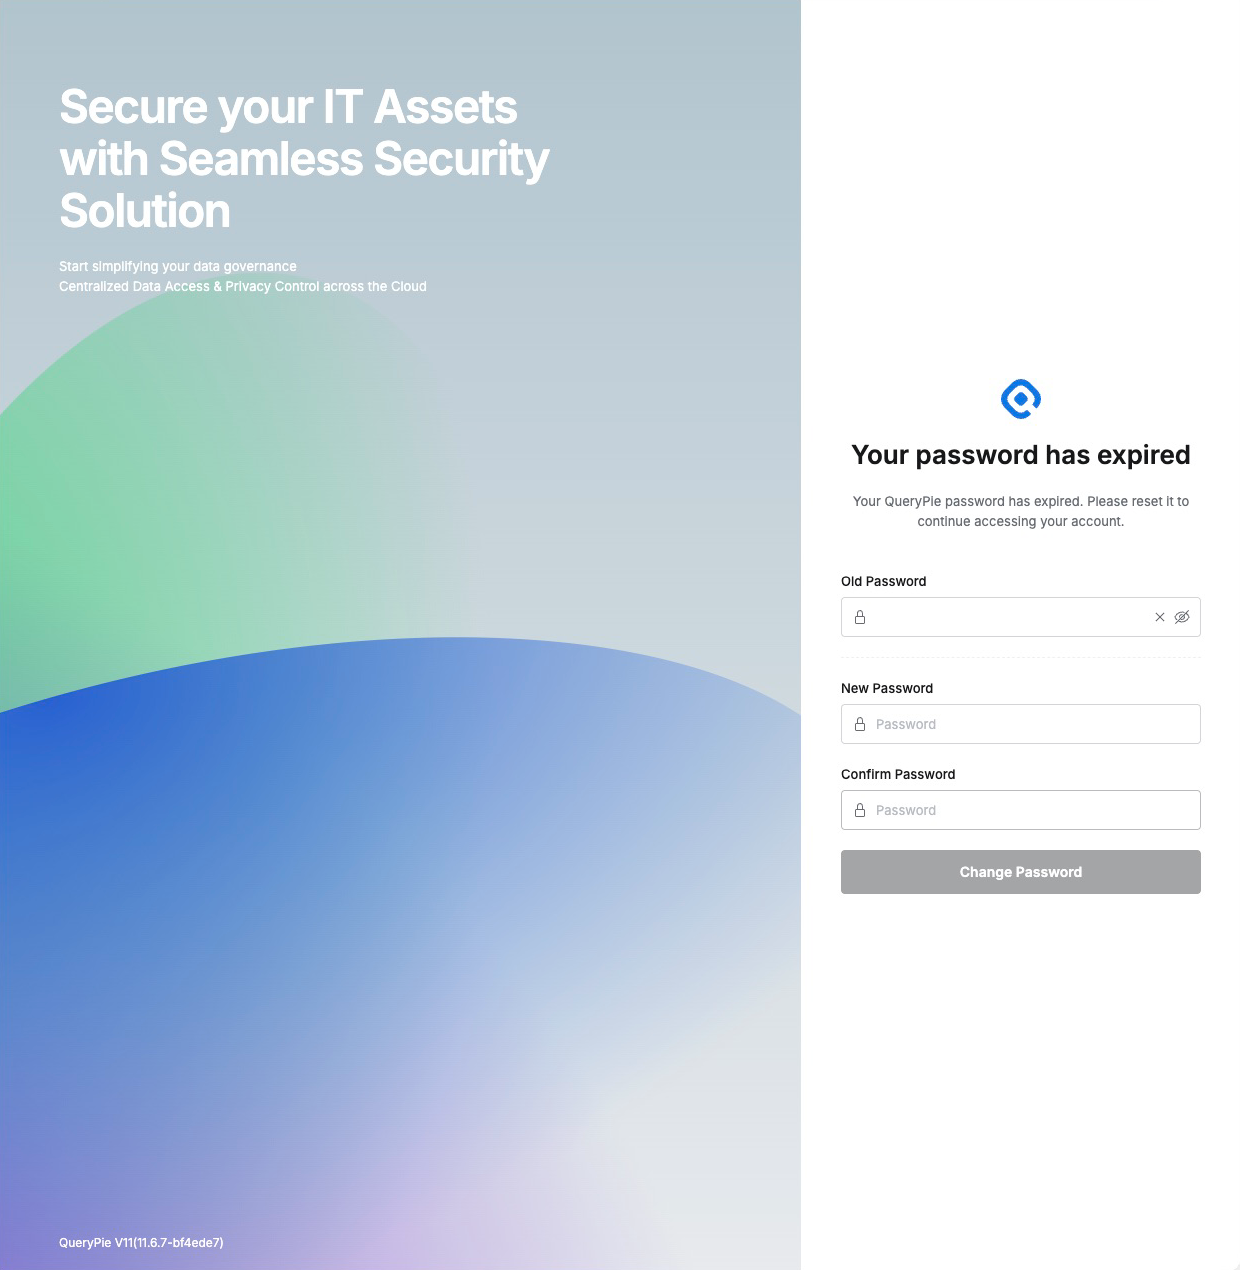
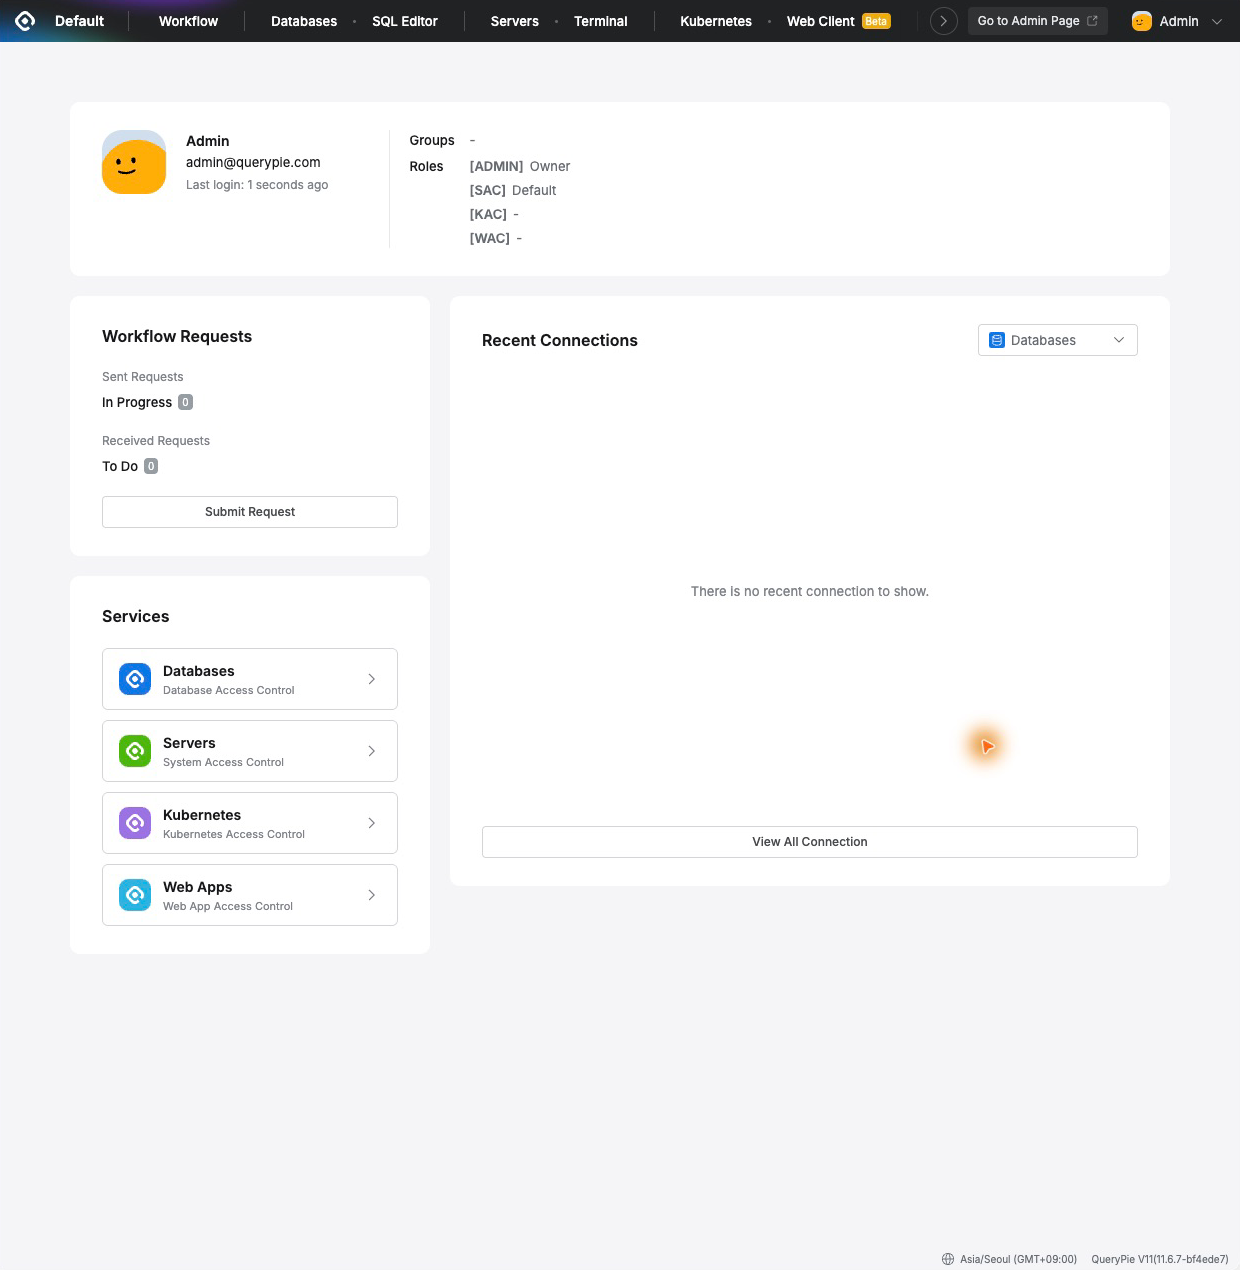
Signing in with the documented default administrator account, qp-admin, displayed a password-expiration notice and change form. I set a new password, confirmed success, signed in again, and reached the user dashboard. I stored the lab administrator password securely and separately.
Go to Admin Page → General → Company Management → General and set Web Base URL to http://localhost:8000. I saved it without a trailing slash and reloaded the page to confirm persistence. This address is for a lab on this Mac alone. Other PCs or external authentication systems require a reachable address and TLS configuration.
Reference manual: Initial configuration after installation— ‘Common settings → QueryPie Web Base URL settings’and QueryPie ACP Community Edition initial configuration guide— ‘Web Base URL settings’. I confirmed the format, including the port and no trailing slash. The same guide’s ‘Service-specific proxy settings’will be useful for later external-client exercises; I did not complete those settings in this article.
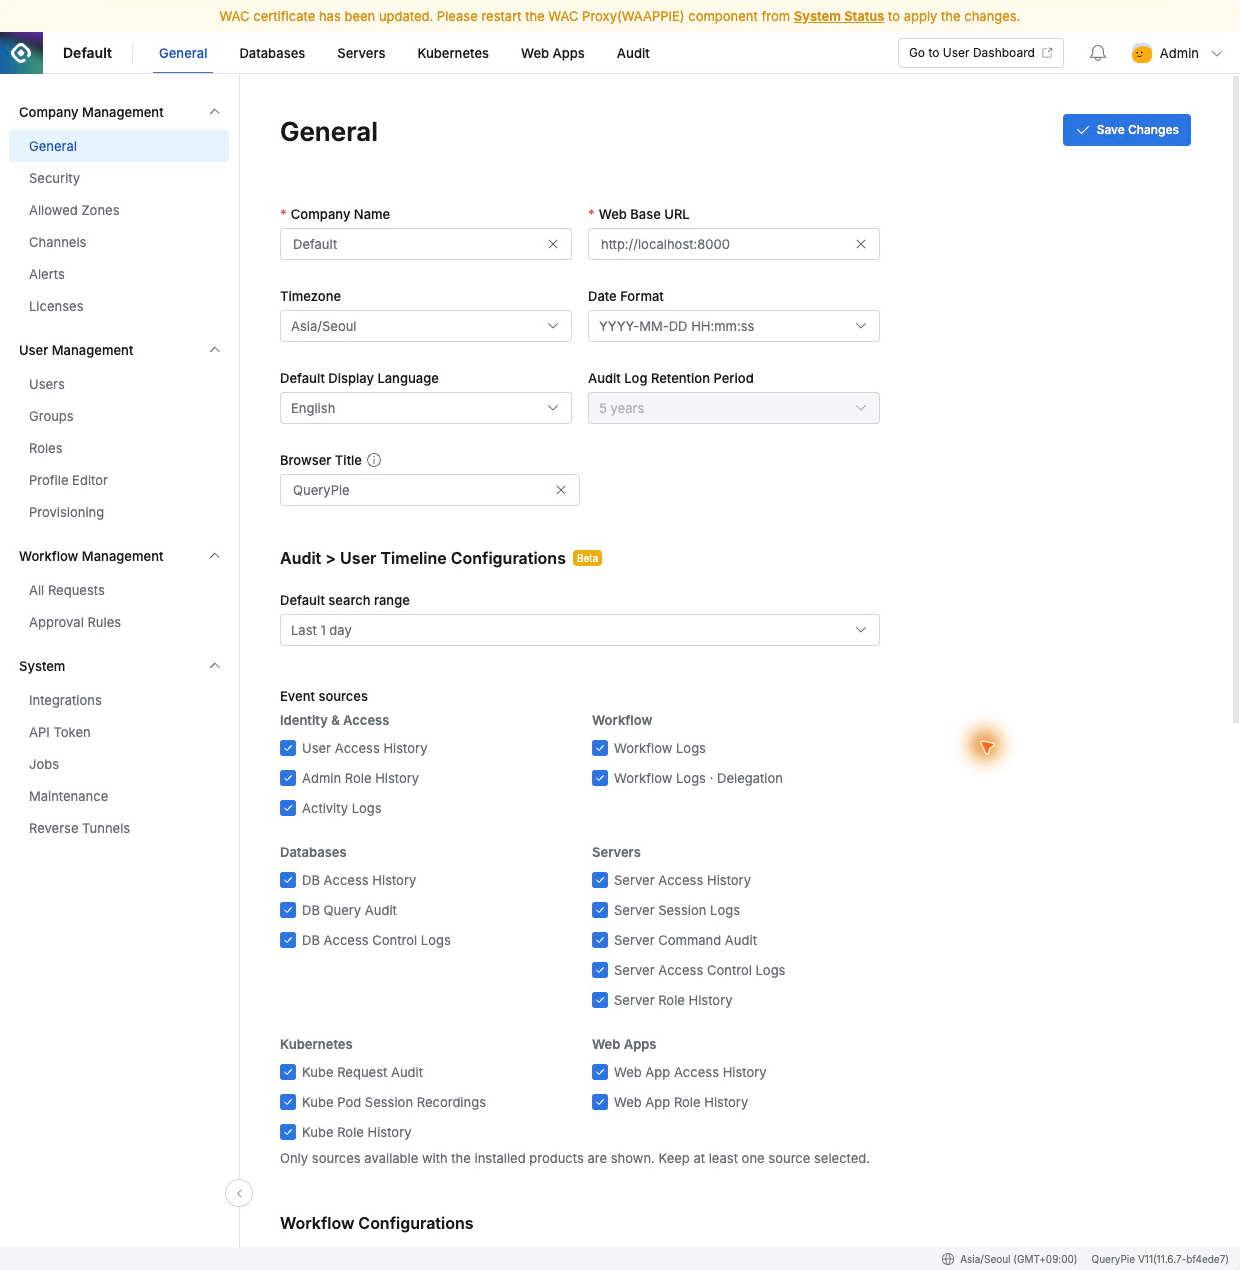
A notice at the top requested a WAC Proxy restart following a WAC certificate renewal. I did not verify WAC connectivity here; component activation checks and service-specific proxy configuration remain for the relevant exercises. Do not treat a successful login as proof that every access path is ready—this distinction matters.
9. Questions to Take Away from the Installation
Review area | Verified here / Still to verify |
Lab feasibility | Verified 11.6.7 startup and dashboard access on this Mac/Docker combination |
Production suitability | Actual production OS, architecture, resource requirements, and support scope need separate verification |
Network | Encountered a 6443 conflict; plan administration and resource-access ports and proxy addresses together |
Data management | Separated existing and new data; production needs retention, backup, and recovery procedures for configuration and audits |
Licensing and accounts | Verified license application, initial password change, and re-login; individual admin accounts and authentication integration remain |
Access-control effectiveness | Test resources, permitted/blocked scenarios, and audit records will be verified hands-on |
This first installation showed that evaluating adoption is both about getting the product running and exposing the constraints of our environment. Here, those were existing data and ports. A production rollout would similarly bring certificates, account integration, network paths, incident handling, and log retention into scope.
Next, I will connect a test database to this environment. Beyond simply confirming a connection, I want to check whether unauthorized users are denied and what evidence remains for allowed operations and blocked attempts. This is the starting point for testing the first article’s idea of control after intrusion against actual behavior.
Official References
The list below gathers the documents linked above. Installation, testing, and documentation were checked as of November 7, 2026. Screenshots were captured during this lab, not copied from manuals.
QueryPie ACP Community Edition — Recommended server specifications, license application and registration, first login, manual startup, and readiness checks.
Installation guide — setup.v2.sh — Installation flow for the official setup script.
querypie/11.6.7/README.ko.md — Included in the official Compose package. MySQL/Redis, Tools, and Application procedures under ‘Manually running QueryPie ACP with Docker.’
Linux distributions and Docker/Podman support — Guidance for selecting a production distribution and container engine.
Community license application page — Application for an actual license.
Enforced password changes and deletion for the default qp-admin account — Initial password-change behavior and account-management conditions.
Initial configuration after installation — Web Base URL and service-specific proxy settings.
Community Edition initial configuration guide — Web Base URL format and service-specific proxy settings to complete in later exercises.
The screens in this article were captured during this exercise. Installation success, license activation, feature verification, and production suitability are recorded as separate items to verify.